Setting up PocketBase and a Next.js API page
Introduction
PocketBase is a lightweight data storage solution for applications. Instead of installing a large database that is hosted on an external server, PocketBase is a single file and contains everything a database needs. All the data for PocketBase is stored in two folders in your project titled pb_data and pb_migrations.
Getting started
First we need to download PocketBase itself. To do this, head to https://pocketbase.io/docs/ and click on the zip for your operating system. In this example, we will use the Linux zip file.
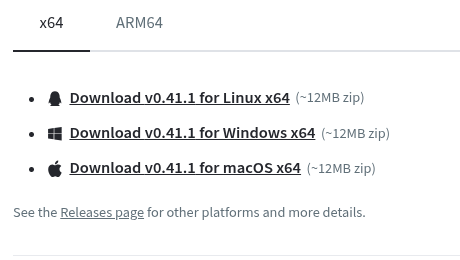
Once downloaded, we then need to right-click on the file and extract the contents of the zip. What we are left with is a single folder with three files inside.
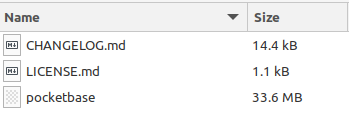
The file titled pocketbase is the single file we will add to our project.
Adding PocketBase to the project
For this example, we have a Next.js project that was set up on GitHub Codespaces with VS Code as the editor.
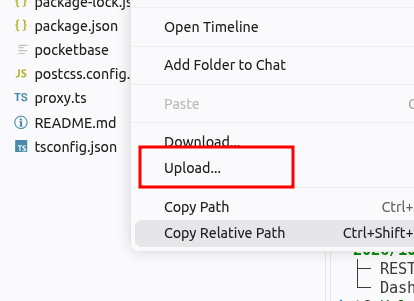
Inside your project, in VS Code, right-click the file browser area and click Upload. Then select the pocketbase file that was extracted from the downloaded zip file. This file should be added to the root of our project folder.
In your terminal, run the following command to add permission to run the file:
chmod +x pocketbase
Next open a terminal in Visual Studio and run the following command to create a new user account.
./pocketbase superuser create [email protected] 12345678
After this, to run the server, enter this command:
./pocketbase serve
Once started, VSCode will ask whether you want to open the URL; click Open.
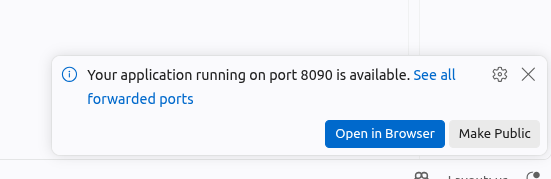
A link will then open in your browser that looks like this:
https://fuzzy-funicular-9656x5v6g397qr-8090.app.github.dev
This link is for the database server. We then need to add one more piece to the end of this link to get to the admin console.
Add an underscore and a forward slash, (e.g., _/) to the end of your URL so it looks similar to this:
https://fuzzy-funicular-9656x5v6g397qr-8090.app.github.dev/_/
When you press Enter, you will then see the admin console:
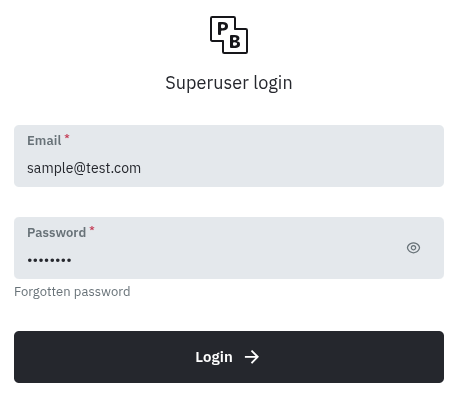
Enter the login details [email protected] and 12345678, then press Login.
At the moment, there are no tables or collections, as they are called in PocketBase.
To create a collection, on the left, click New Collection.
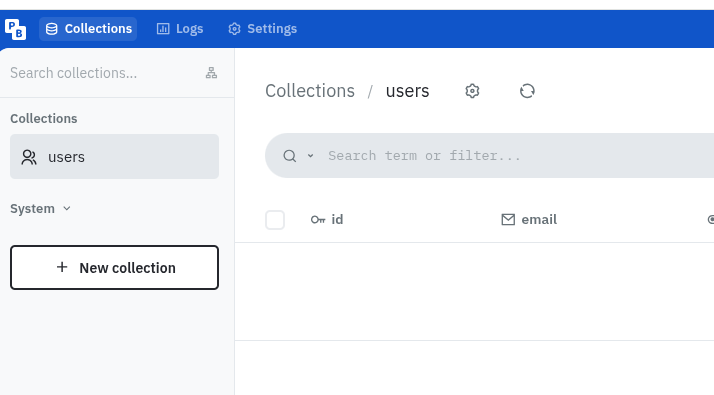
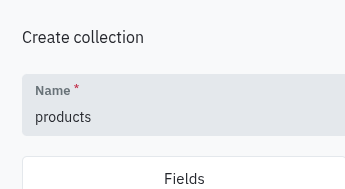
Next, enter the collection name as Products.
After this, we can then add the fields we want in the collection. For this example, we will add a name, price, and description.
To do this, click New Field and then select Plain text as the data type. Repeat this for each of the three attributes: name, price and description.
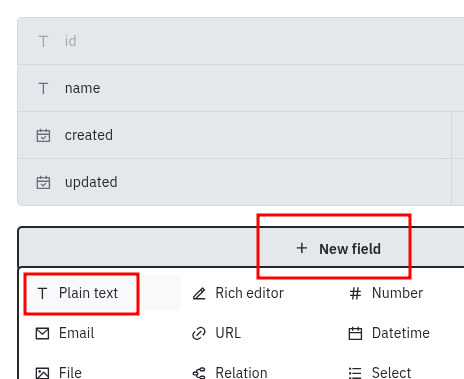
Once finished, click Create in the bottom right corner.
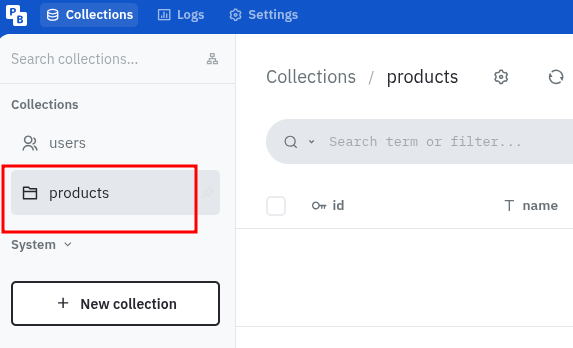
Once created, we will be set back to the homepage, and you will see our new collection is added:
Adding data
Now that we have set up the database, we can move on to adding data into the database. To do this, we will use an API route in our Next.js web app.
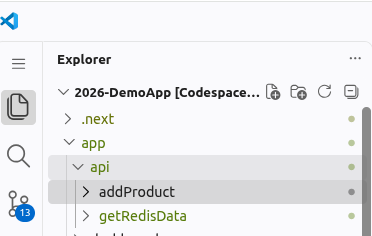
Inside the app folder of your project, add a folder titled api. Inside this folder, create another folder titled addProduct. Finally, inside this folder, create a file called route.tsx.
Inside this file, add the following code. This code captures three parameters in via the URL and makes a call to PocketBase to save them.
import { NextRequest, NextResponse } from "next/server";
import { db, authenticate } from "@/lib/database";

export async function GET(request: NextRequest) {
  try {
    await authenticate();

    const { searchParams } = new URL(request.url);

    // Extract the variables
    const name = searchParams.get("name");
    const description = searchParams.get("description");
    const price = searchParams.get("price");

    // check they exist
    if (!name || !description || price === null || price.trim() === "") {
      return NextResponse.json(
        { error: "Name, description and price are required" },
        { status: 400 }
      );
    }

    const product = await db.collection("products").create({
      name,
      description,
      price: price,
    });

    // send the OK back to the client with the created product
    return NextResponse.json(product, { status: 201 });
  } catch (error) {
    console.error(error);

    return NextResponse.json(
      { error: "Failed to create product" },
      { status: 500 }
    );
  }
}
Next, we need to create a library file to pull the database into our project. To do this, create a folder titled lib in the root of your project. Inside this, create a file called database.tsx.
Then, add the following code to the file. This code first gets the PocketBase URL from the .env.local file. After this, a call is made to authenticate with the database by passing in the email and password from the .env.local file.
import "server-only";
import PocketBase from "pocketbase";

const db = new PocketBase(process.env.POCKETBASE_URL!);

async function authenticate() {
  await db.collection("_superusers").authWithPassword(
    process.env.POCKETBASE_SUPERUSER_EMAIL!,
    process.env.POCKETBASE_SUPERUSER_PASSWORD!
  );
}

export { db, authenticate };
Once this is finished, we need to then create a .env.local file in the root of your project and add the following content.
POCKETBASE_URL=http://127.0.0.1:8090
[email protected]
POCKETBASE_SUPERUSER_PASSWORD=12345678
Running the server
The very last step in the process is to run the following command to install the PocketBase package into our project.
npm i pocketbase
Running the server
Once installed, we can start the server by running the following command:
npm run dev
A button will pop up in the bottom corner of VS Code that shows the URL of the app server.
The link that opens will look similar to the link below:
https://fuzzy-funicular-9656x5v6g397qr-3000.app.github.dev
To make a call to the API server page with values, we add the following on to the end of the URL we received:
/api/addProduct?name=iPhone&description=Apple+Smartphone&price=799.99
Our complete URL then becomes:
https://fuzzy-funicular-9656x5v6g397qr-3000.app.github.dev/api/addProduct?name=iPhone&description=Apple+Smartphone&price=799.99
If everything goes to plan, the server should tell you the new record has been created. Notice how the record has its own fields added that we did not create, including collection name, ID, created time and last updated time.
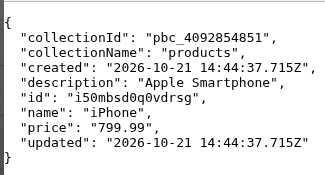
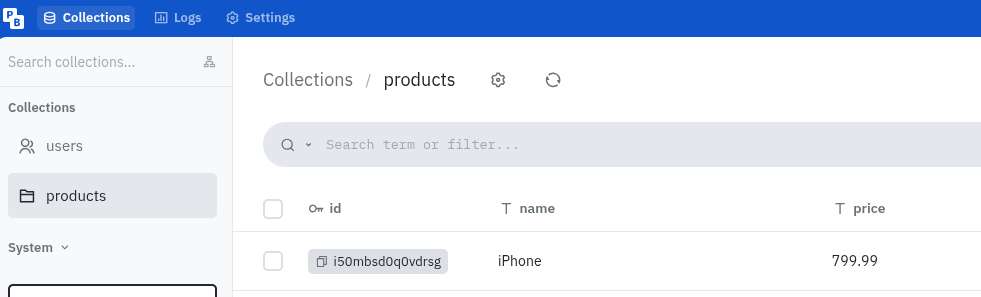
If we head back to the PocketBase admin console and refresh the page, the new record can be seen:
Where is the data?
The data for your PocketBase database is located inside two folders that it creates in your project: pb_data and pb_migrations.