Setting up a Content Delivery Network for Next.js images
Introduction
When hosting a web application, we often need to consider the amount of pressure our web server is under. One simple way to reduce that pressure is by using a Content Delivery Network (CDN).
The purpose of a CDN is to keep images and resources our app servers use closer to our users' location through the use of additional servers. In addition to this, the files are stored in the server's memory for quick retrieval rather than on a hard drive.
This approach is particularly useful when dealing with large files such as videos, which use a lot of bandwidth. In this guide, we will walk through using the Bunny.net CDN.
Core concepts
Before we begin, we will first describe the type of services that we need. The first of these is a Storage location. This is the location where our physical files will be held. These files can be uploaded through a traditional web uploader or from a command prompt. These files can then be mirrored once uploaded to different locations around the world.
Once we have these files available, we can then create a Pull Zone. This is a location where our files are pulled from the storage zone and stored in server cache in memory. These caches make accessing the files quicker than regular file storage. There is also an added option to mirror (copy) these caches around the world, geographically closer to our users.
Our workflow can be broken down into the following steps:
- Setting up the CDN and creating a storage zone.
- Uploading files to the storage zone.
- Creating the CDN cache that points to the storage zone.
- Making calls to the individual URLs for files in the cache by adding them to our Next.js app.
Getting started
Head to https://bunny.net/ to get started setting up the Bunny.net CDN. Bunny.net is one of many CDN networks available to use. This one was selected because we do not need to enter any credit card details for a trial.
Once on the website, click Get Started in the top right corner.
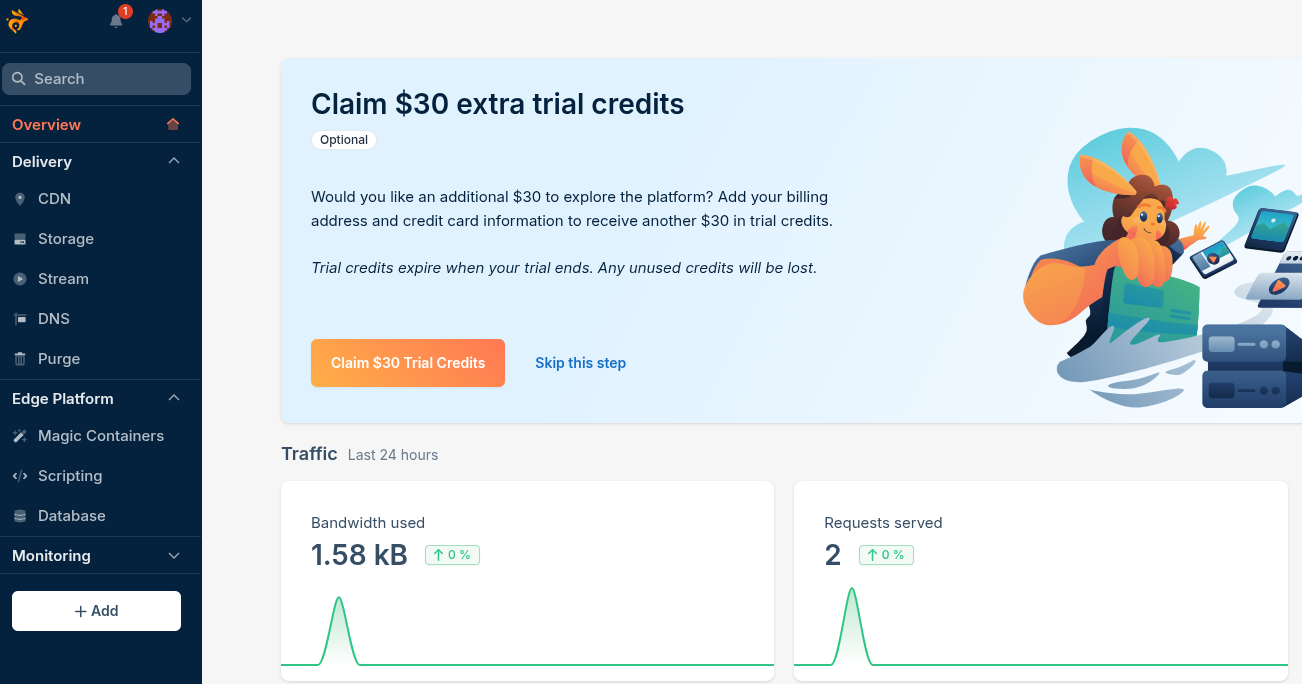
On the page that loads, you can create a new account with Bunny.net, or if you scroll down, you can use your existing Google account. After signing in, you will then see the main dashboard as shown below. Click Storage
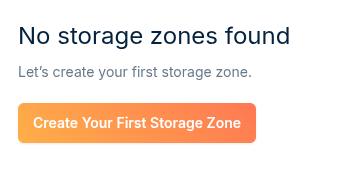
Once on this page, click Create your first storage zone.
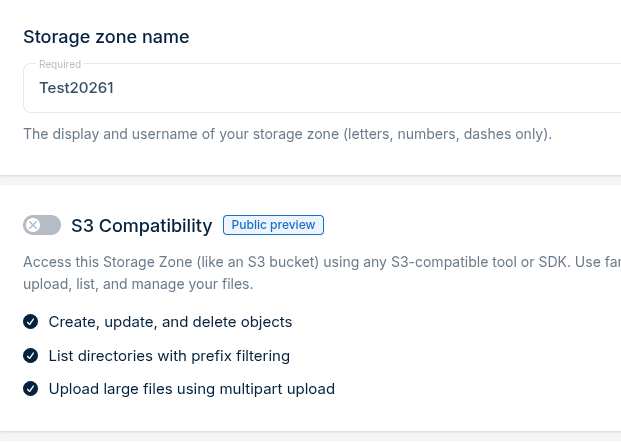
We then give it a unique name. We can leave S3 compatibility turned off.
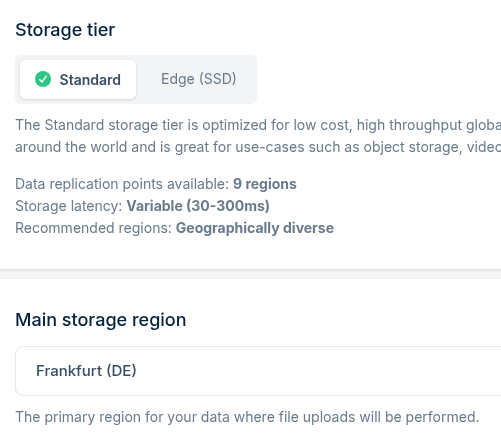
We then select Standard as the storage tier. Frankfurt is then set as our default storage location. Standard is the default low-cost solution.
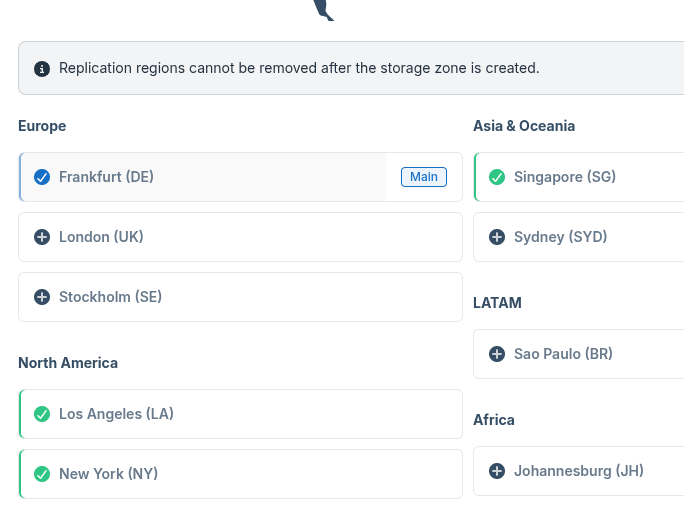
After this, we then select any location we want to send a copy of our files to when they are uploaded. These are mirrors of our physical files. Notice here how Frankfurt is selected as the default location.
To finish, click Add Storage Zone.
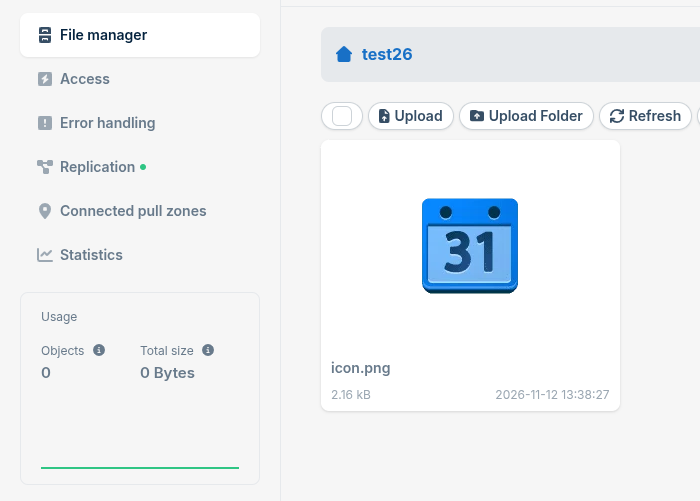
Once this is complete, we will then see the dashboard. On this, an option exists to upload our images.
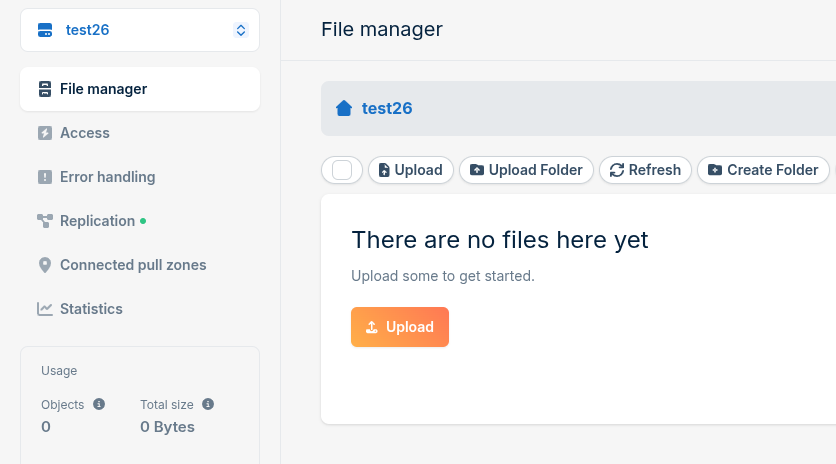
Below shows a simple image after being uploaded.
Creating a Pull Zone
After setting up the storage zone and adding an image, we can move to making a Pull Zone. This creates the cache of the files it pulls files from our storage location to keep in memory and deliver fast to our users.
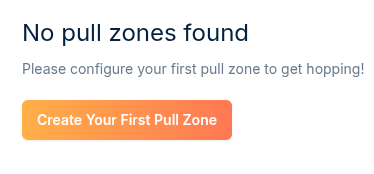
To start, click Create
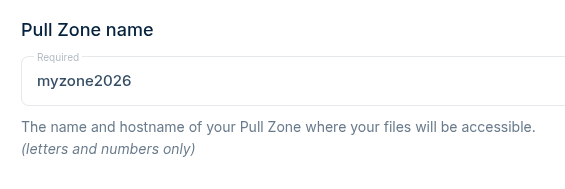
We then give the zone a unique name.
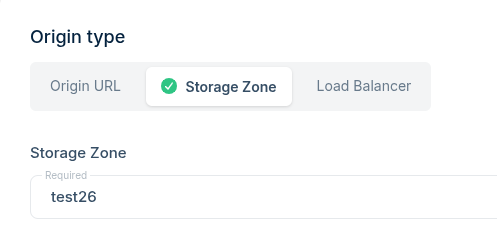
We then define the origin of the requests. Here we select Storage zone as it is the source of the data we uploaded and stored in Frankfurt by default. This is the main link we make between the files we have and the cache we are creating.
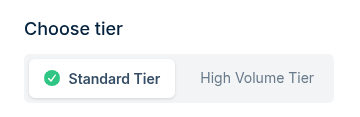
For cost savings, we will then select the standard tier because we do not need high volume.
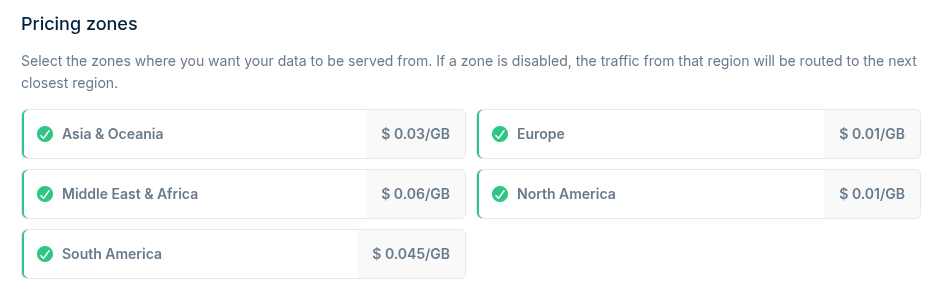
After this, we can then select the different locations around the world where we want our cache to be stored. This is similar to sending our files around the world to different storage locations, however, here the files are kept in a cache in memory for fast delivery.
To finish, we then click Add Pull Zone.
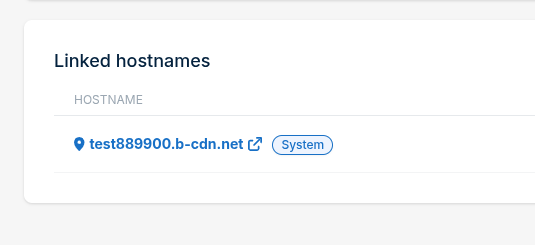
Once finished, a dashboard will load showing you the base URL of your CDN as shown below.
Getting CDN URLs for our files
Now that we created the CDN and the pull zone, we can head back to the Storage area to get the complete CDN URL for our image.
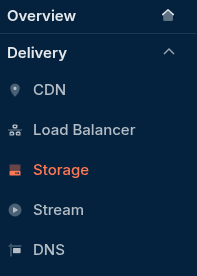
First click Storage on the left menu.
Once the page has loaded, click your CDN name. Here, mine is shown as Test26.
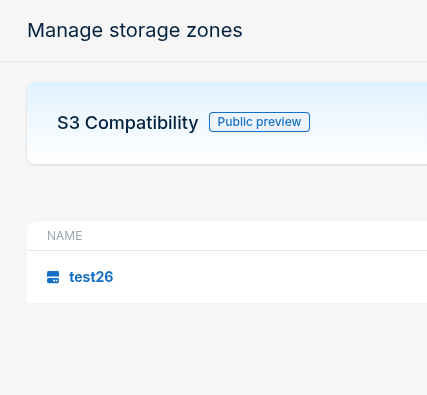
To finish, right-click on the image you uploaded and select Copy URL. This URL is the complete full CDN URL for that particular image.
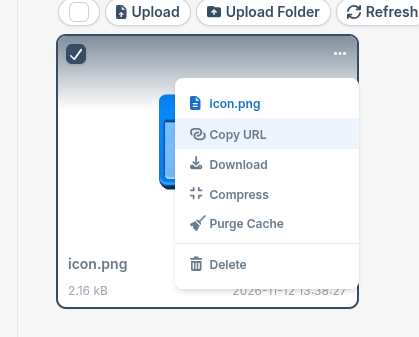
Once copied, if we paste the URL, we will see the following string:
https://test889900.b-cdn.net/icon.png
In this address, we can see the two parts. On the left, we have the CDN base URL https://test889900.b-cdn.net, and on right we have the individual file name icon.png.
Updating our app
Now that we have this URL, we can head back to our Next.js app and add in this complete file URL using the Image syntax.
import Image from "next/image";

export default function Home() {
  return (
    <div>
      <Image
        src="https://test889900.b-cdn.net/icon.png"
        alt="Example photo"
        width={600}
        height={400}
      />
    </div>
  );
}
To allow our app to call external CDN locations, we need to update the next.config.ts file in the root of our project.
In this file, notice how we added the protocol https and the hostname test889900.b-cdn.net , which is our base URL for the CDN.
import type { NextConfig } from "next";

const nextConfig: NextConfig = {
  images: {
    remotePatterns: [
      {
        protocol: "https",
        hostname: "test889900.b-cdn.net",
      },
    ],
  },
};

export default nextConfig;